
Whether or not you are an ultra cyclist, proper bike maintenance is crucial to guarantee a safe, solid and smooth ride. The past months I have received a few questions about how I maintain my road bike on a daily and weekly basis. Daily use can namely cause damage to your bike, whether it be the wheels, the frame or other parts of your bike. That’s why it’s very important to have your bike serviced and maintained regularly before you get to the point of having to repair it or even worse letting someone else repair it. This will help you to keep your bike in good condition. Here are some essential tips on how to do good road race bike maintenance for very little money. I present you… my own little road race bike maintenance guide. Feel free to add your own habits, brands or other useful information about road race bike maintenance. Sharing is caring.
In July 2022 I completed the ultra cycling challenge The Tour du Mont Blanc Cyclo; a once in a lifetime experience. Read more about my preparation and race via the below link.
Road race bike maintenance guide: Check your bike before every ride
It is important to check your road race bike before you set off on a trip. Even if it’s just a short ride. You don’t want a surprise when you’re away from home… There are a number of things you should always check before you leave home with your bike. Let’s go over some crucial road race bike maintenance steps:
Tyre pressure
You can use your hand or a pump with a pressure gauge to check the tyre pressure of your bike from time to time. The maximum pressure is always indicated on the side of the tyre. An under-inflated tyre will reduce your bike’s performance and can increase the risk of a puncture. And if you overinflate the tyre and the tyres have too much pressure, this will cause the bike to lose grip on the ground. Especially on wet surfaces. In summer I tend to pump up my tyres close to the maximum while in autumn and winter I remove some of the pressure.
Faults in the steering and/or bottom bracket
Before you go out on your bike, you should check it for faults. No matter how small the failure of the headset or bottom bracket, it can shorten the life of your bike’s bearings, headset or bottom bracket.
The drivetrain
After hundreds of kilometers, the chain can start to deteriorate and the derailleur will probably end up out of adjustment. It is therefore necessary to check that the gears shift up and down correctly. If not, it will take a few turns of the spanner to adjust the derailleur or a few clicks on your DI2 mechanism in my case. Since I have my own electronic Shimano DI2 shifting system I must admit shifting goes a lot smoother and I barely need to adjust them.
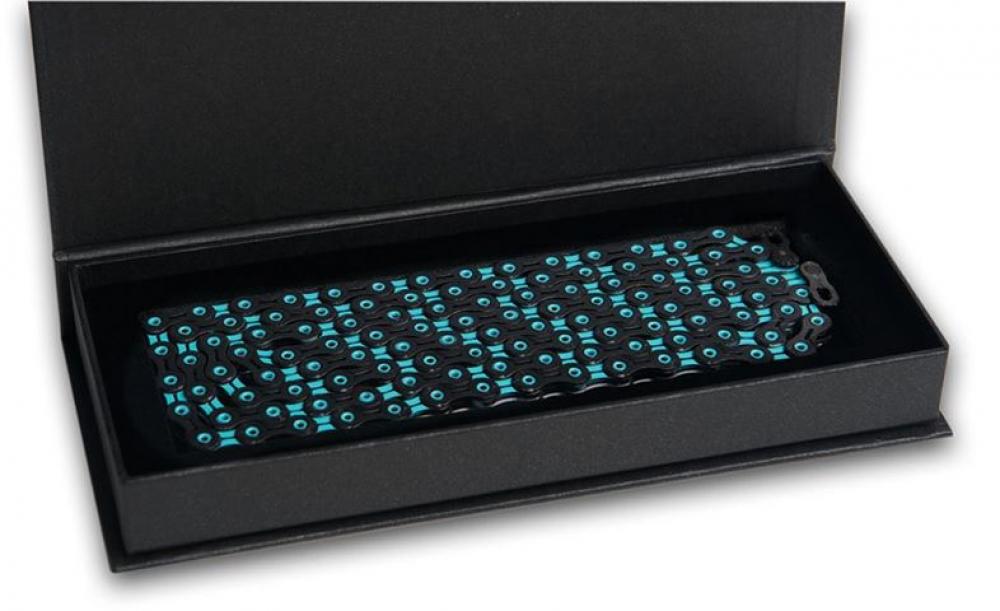
If you notice you chain is damaged or worn out don’t hesitate to replace it as soon as possible. The price of a chain start around €15 for standard models, and up to €100 for higher quality, colored or limited edition models. I have a black-celeste KMC DLC 11 road race bike chain.
The brakes
This is probably one of the most important points before jumping on your bike, at least for me. To check that you have no problems with the brakes. Do not hesitate to get on your bike, pedal a little forward and brake firmly. The bike should stop. If you have cable brakes, you can increase the cable tension with the adjustment wheel in the handlebar area of the bike. I am having disc brakes and I always ensure I have a spare set of brake pads/pads at home. Talking about breaks. Every 3 to 4 rides, depending on the distance, I quickly clean my brake pads with Muc-Off Disc brake cleaner. I have a very positive experience with this brand but feel free to use another one of course.
The fixing or locking points
Over time, bolts and nuts can naturally loosen. Regularly check that all bolts on your bike are tight. You can use a torque spanner for a more precise tightening. And if you’re short of tools, do not save money on buying them. Tightly fixed bolts and nuts can prevent you from serious accidents.
But which bolts or parts should I check and should I check them before every ride? No… honestly checking bolts and re-greasing them is something I maybe do every 2 to 3000 kms. The only exception is when my bike has been out for repair or when I buy a new one (and no, that’s not every week 😊 )
Which parts to check? Checking that your stem and steerer tube fasteners are tight will prevent one nasty accident. Next on the checklist are the pinch bolts or central spline-tightener on your cranks. You might have to use, or maybe better…you should use, a torque wrench to ensure that all of these threads are genuinely tight enough. After confirming that my hands and feet won’t flop off along with their associated components, I check the front and rear axle. A loose axle won’t often result in a wheel flying past you on the trail, but if it starts to slide out of place there can be a good amount of damage done before you get the bike stopped. That’s it.
Road race bike maintenance guide: Check your bike after every ride
After using your bike all week long for some short rides, the weekend comes and you plan to go on a a longer cycling trip. Having checked that everything was working properly on your bike at the end of a ride will make things easier. It will also save you time before you set off on your trip. It is important and necessary to spend a little time on bike maintenance to prevent your bike from atrophy, rust, punctures, etc.
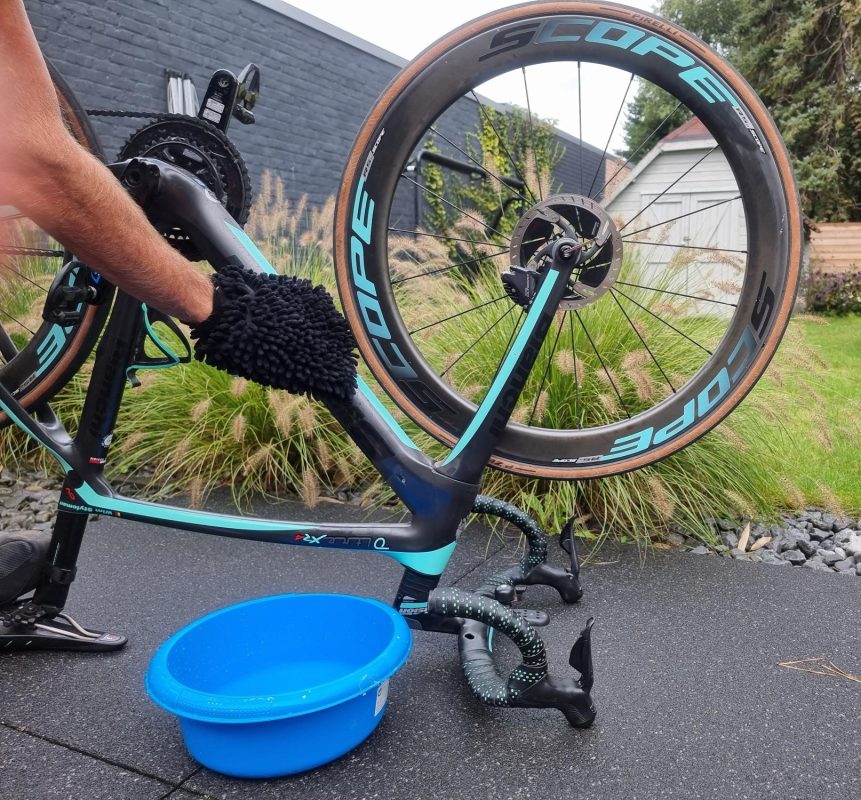
Washing your bike
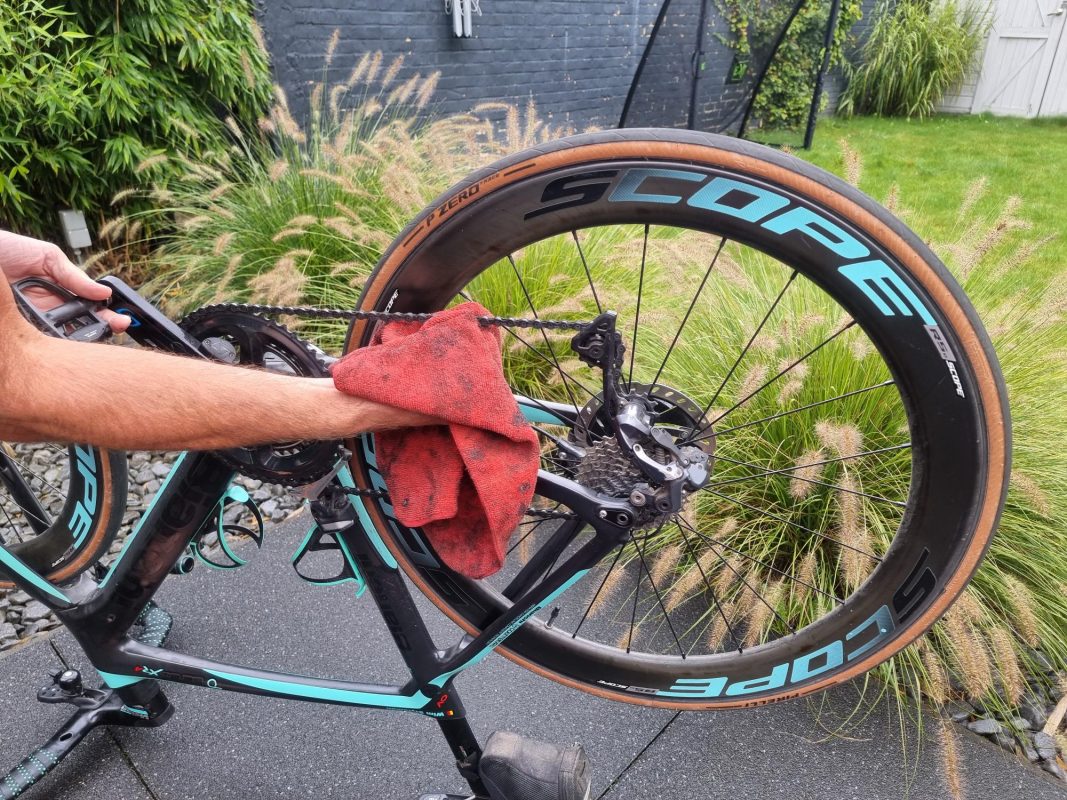
It may seem a trifle, but 90% of bicycle breakages are due to careless bicycle maintenance by the owner. Even when cycling in the city, fine particles coating the tyres and contamination are deposited on the drivetrain and other contact points. This is very common on the roads, where bicycles are exposed to dirt, mud or dust. Reason enough to maintain your bike properly and spend a minimum of time cleaning your bike. I always do a quick clean after each ride. Not much…just washing away the dirt and cleaning my chain with a cloth.
Degreasing the drivetrain to remove dirt and dust
Don’t forget to degrease your bike’s drivetrain once a month. This will remove any dirt and you’ll be able to show off your bike’s cleanliness. To do this, get a chain cleaner, a brush and a degreaser.
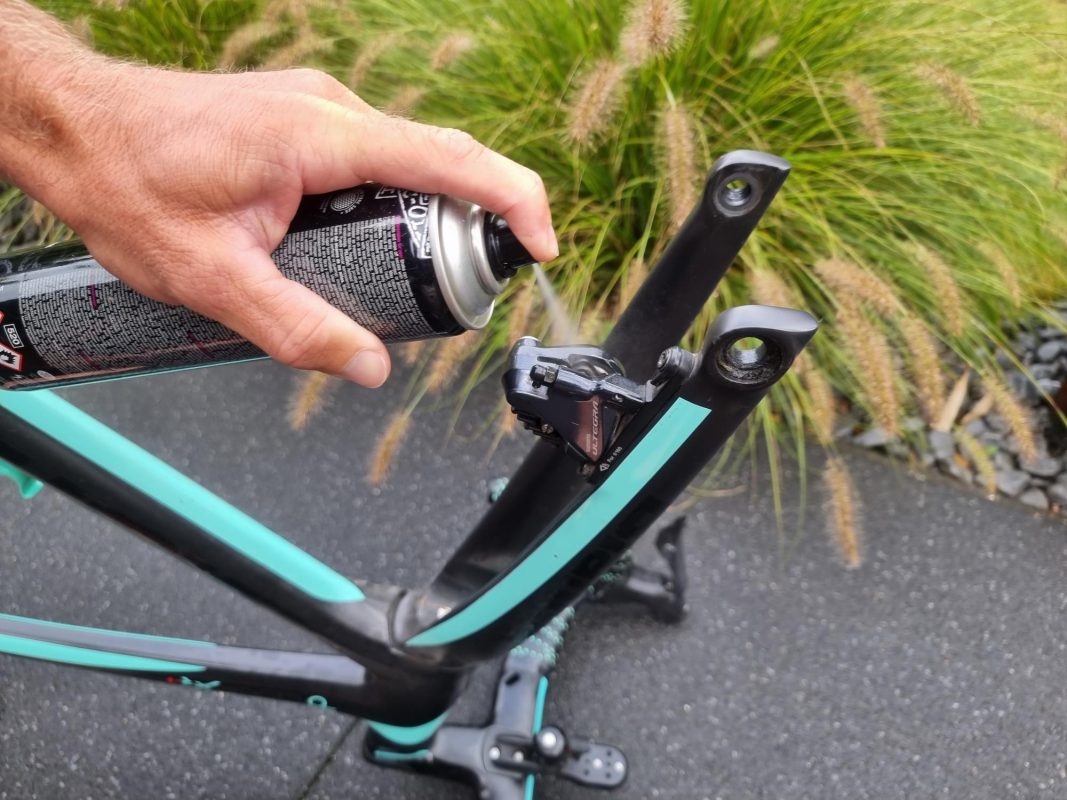
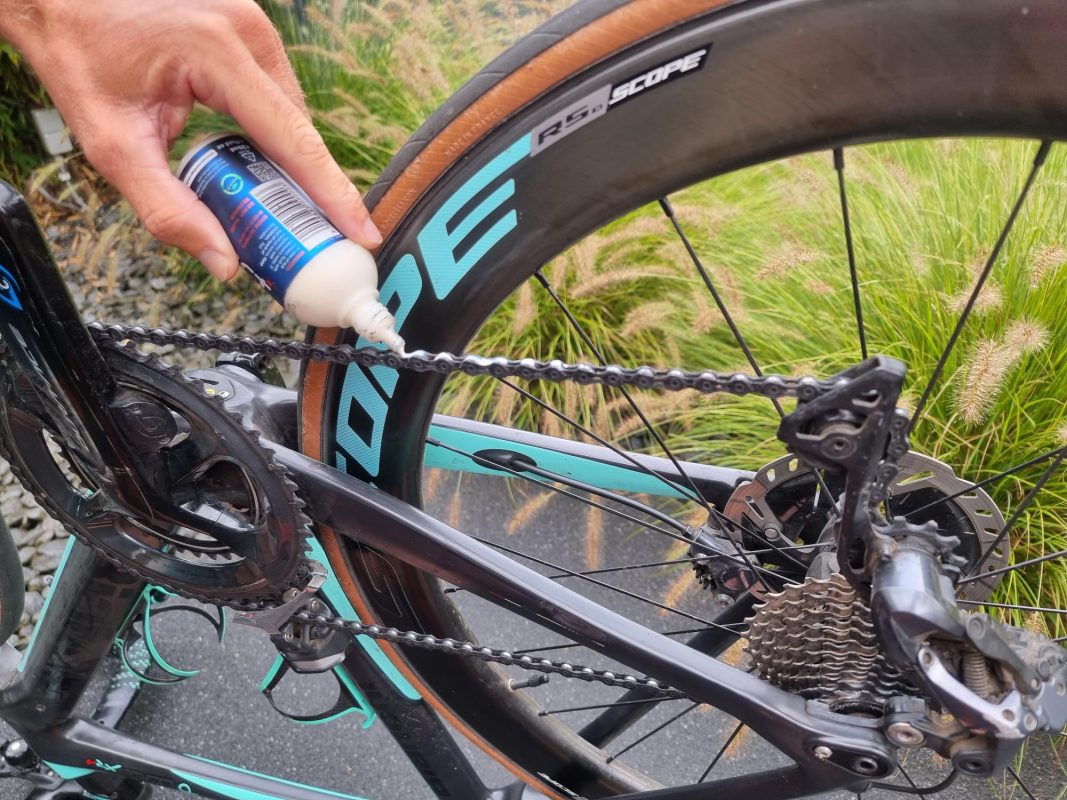
Lubricate the chain and cassette.
This should be done 24 hours before the next ride and after degreasing the chain. Nowadays, bike brands often offer different drivetrain lubricants (for dry or wet weather, for mountain or city bikes). A few drops on the chain will be enough to keep your bike’s drivetrain in good condition. My favorite brands are Squirt Chain Lube and Graphenlube.
Check the general condition of the tyres
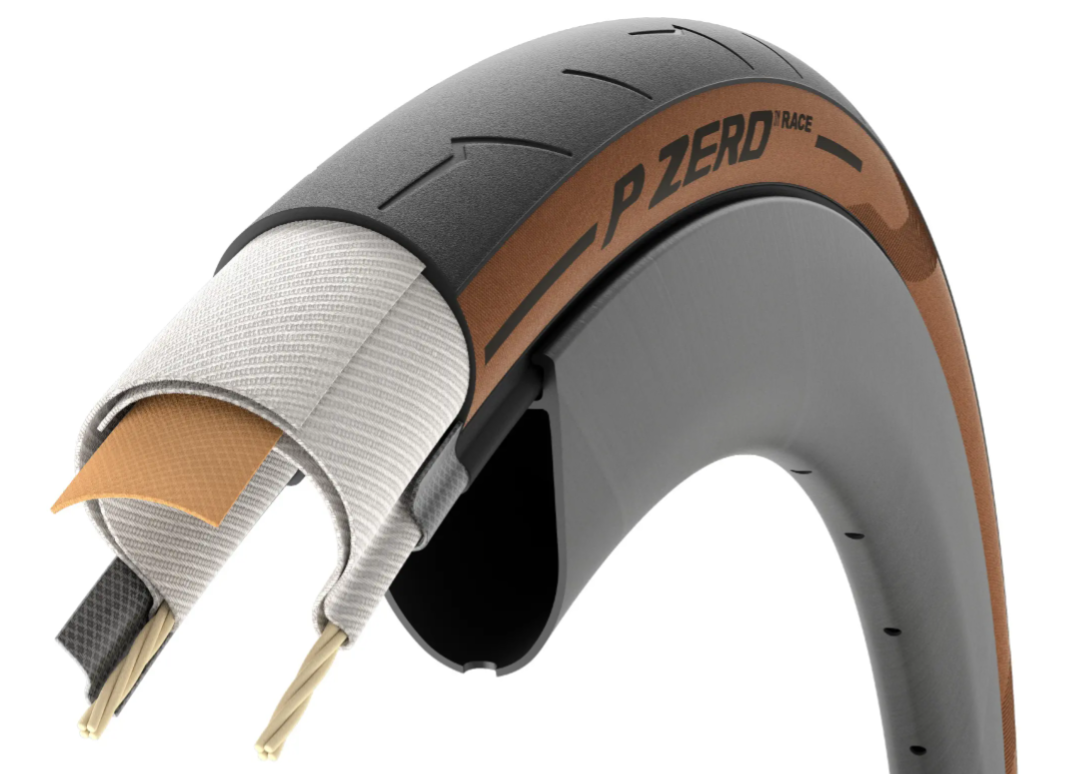
Now that my bike is clean and shiny, I always check the general condition of my tyres: are they not worn, bulging, cracked or punctured etc. I do advice to buy high-quality bike tyres, you will greatly reduce the risk of punctures. Since about 5 years I have been successfully using Pirelli P Zero Velo Race tyres. A flat tyre can never be completely avoided but I have only had 3 flat tyres the past 5 years. And those 3 flat tyres occurred in one ride because I didn’t remove and notice a nasty and sharp piece of glass pushing through my tyre.
To my opinion, the Pirelli P Zero Velo has have all you need against punctures. They are durable, puncture-proof tyres with no added weight, width, thus the bikes become faster but not heavy and harder to ride. Despite having a thicker tread for puncture protection, the tyres are light and very practical.
Conclusion: Road Race Bike Maintenance guide
Road race bike maintenance means avoiding unnecessary costs in the long run. You will save time by having a bike that is always in good condition and you will be more comfortable on your trips.